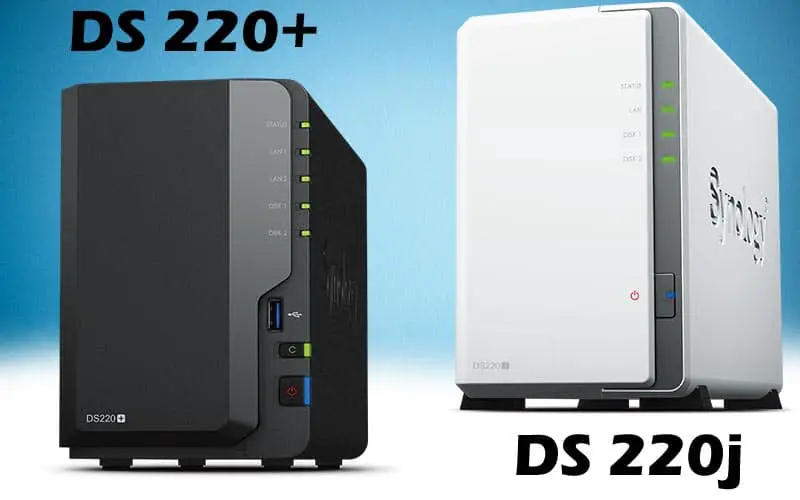
Let’s really simplify which one is better. Synology DS220+ has reading speed of 225MB/s and writing speed of 192MB/s whereas DS220j has reading and writing speed of up to 112 MB/s making it slower. DS220+ also has greater installed memory so its no shock that its the better performer. But ofcourse, it is expensive.
All in all, if you are a absolute beginner with these devices, and looking for a budget option, DS220j is not a bad place to start.
Table of Contents
What are the major differences between these 2?
Synology DS220+ has an Intel processor whereas ds220j only has Realtek CPU. Ds220j and has 512Mb of RAM and does not allow upgrading whereas DS220+ has 2 GB RAM but it has maximum capacity of 6GB making it better.
Though Synology DS220J has 2 USB 3.0 and 1 GB LAN but DS220+ has an additional USB 3.0 and LAN port. The whiter NAS servers are affordable and black ones are more powerful which means DS220+ is better than ds220j.
Synology DS220+ also has a front panel which is removable so dust does not pile up in the drive bays whereas DS220J doesn’t has any removable panel.
The storage capacity, number of drive bays and expansion support are same.
Let take a look at a quick spec sheet of both of these devices.
| DS220+ | DS220j | |
| Processor | Celeron J4025 Dual-core 2.0GHz 4mb CPU up to 2.9GHz burst | Realtek RTD1296 4-core 1.4 GHz |
| Installed memory | 6GB | 512Mb DDR4 |
| Hard Drive | 4TB mechanical hard drive | 15TB drives |
| Ports | 2×USB 3.0 1× Rear USB 3.0 1×Front USB 3.0 | 2×USB 3.0 1× 1GB LAN |
| Speed | 2GHz | 112 MB/s reading and writing |
| Operating temperatures | 0˚ C to 40˚C | 0˚C to 40˚C |
| Warranty | 2-year Warranty | 2-year Warranty |
| Weight | 7 pounds | 3.3 pounds |
| Noise level | 19.3 db(A) | 18.2db(A) |
| Drive bays | 2-Bay | 2-Bay |
| Network interface | 2× Gigabit Ethernet Fail over Link aggregation | 1× Gigabit Ethernet |
Let’s talk about Design:
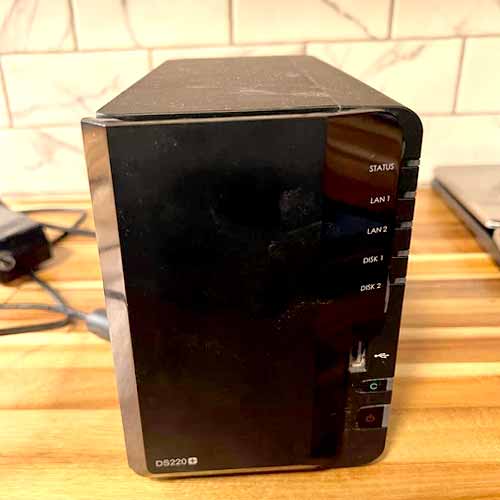
There are two accessible drive bays on the front of Synology DS220+, power button, USB 3.0 port which is single, and LED lights.
There is a single 92mm fan on the back of DS220+ to keep everything cool, Kensington lock, one more USB 3.0 port and power input along with a completely clear side.
The interesting part is that Synology DS220+ is identical to DS218+ in terms of design.
The CPU has a speed of 2.9GHz and runs at 2.0GHz.
Moreover, it has a memory of 2GB but Synology DS220+ allows you to install 4GB on your own making the total of 6GB of memory.
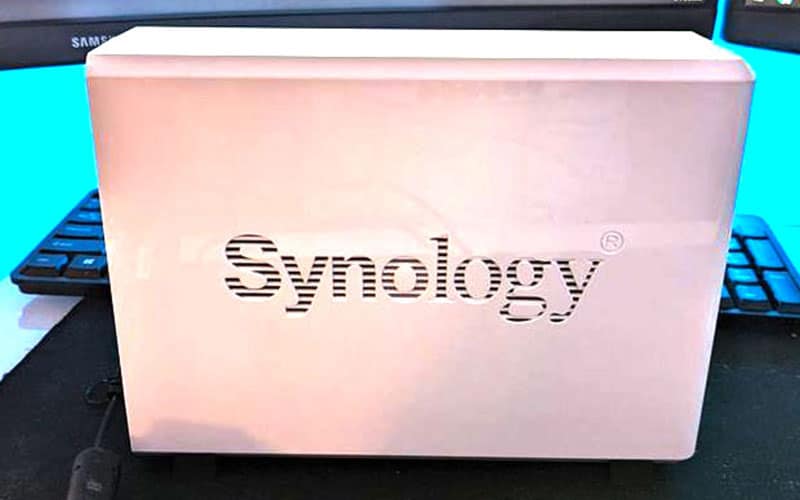
The front of Synology ds220j has a power button, a status light, a LAN activity light, LED indicators and two disk activity lights.
It comes with Realtek RTD1296 and has 512MB of DDR4 RAM.
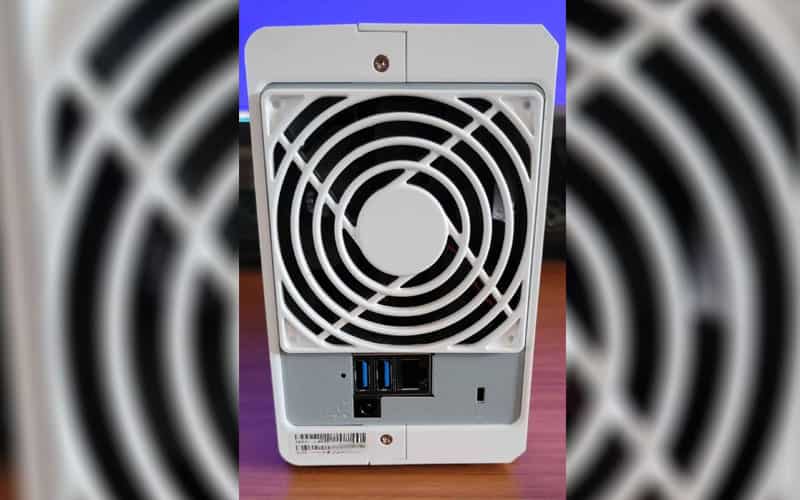
The back of Synology ds220j has a fan, LAN port, USB 3.0 port, a power connector and security slot.
It has been set up for 3.5-inch drives for now but a bracket adapter can be brought from any company in order to secure your drive with multiple screws.
On the whole, ds220j has a simple design and is easy to understand.
Supported Devices
Synology ds220+ has 2 drive bays and supports 3.5”inch SATA hard drives, 2.5” inch SATA hard drives along with SSDs.
These two drives are used to allow you to share files with multiple user accounts and connections.
The Synology 220J support various hard drives but some of the best are Seagate Ironwolf, Seagate Ironwolf pro, Seagate Exos (10TB), Western Digital Red Plus and many more.
If you are looking for overall best hard drive then Seagate Ironwolf is the one for you.
Warranty Comparison
Both these devices have limited 2-year warranty but Synology offers extended warranty for extended coverage and their extended warranty is because of the quality components they provide for better performance.
Backup and Sharing
Synology DS220+ provides many backup solutions for physical and cloud both.
You can back up your cloud data by Cloud sync which allows to backup data between local NAS and cloud services.
You can also backup your server and PCs by Synology Drive Client which backs up Mac, Linus and Windows to protect your files.
Lastly, you can backup your Synology NAS by Hyper Backup which provides huge amount of backup destinations of cloud and your NAS.
Synology 220J has hyper backup which uses multi version backup allowing cross-version deduplication and allows backing up of data to different destinations including external hard drives, local shared folders and much more.
It also has Synology Drive Client which allows scheduled backing up of your data in case of accidental deletion of data.
It also allows file sharing across Linux and Mac platforms.
Setup Comparison
Setting up Synology DS220+ is quite easy and does not take more than 10 minutes which means you don’t need to scratch your head over it.
- Unwrap the NAS and keep it on a flat surface.
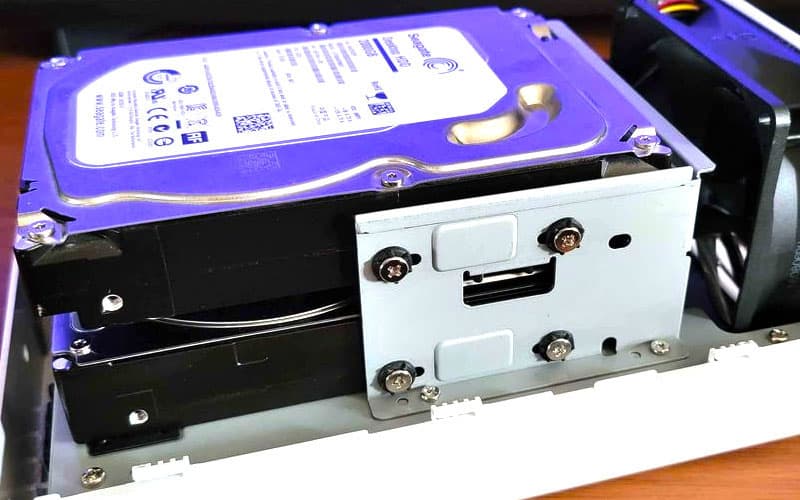
- Now, install the hard drive(s) after pulling out the drive tray(s).
- One end of the LAN cable should be connected to NAS and the other end to WiFi router.
- Use the adapter which is provided and power up the NAS.
- Now hold down the power button in order to boot the device.
Once NAS and router have been properly connected, go on a web browser and search find.synology.com.
It helps you to see details such as IP address, Mac address, Model number and status.
It also has an app called Synology assistant which is used for setting up the NAS.
It should be noted that you and ds220+ should be connected to the same WiFi router. Use a LAN cable or WiFi to connect your laptop or PC.
The wifi gives less speed than LAN cables so choose accordingly.
Coming to the 220J’s Set up:
- Unwrap the device and lift the upper case.
- Now, install the drives and secure them with the provided screws.
- One end of the AC power adapter should be connected to the power port of Synology NAS and the other end to a power outlet.
- Now, connect the NAS to a switch or router using the LAN cable.
- Finally, it will be turned on by pressing the power button.
Once it is turned on, DS220J will be detectable from a network computer.
